Who couldn't use a dressy knit top like the one Samina, from Sew Everything, has made! And in red! Just in time for the upcoming Valentine holiday! Thanks, Samina!!

This wardrobe item is a resounding success, in my opinion.

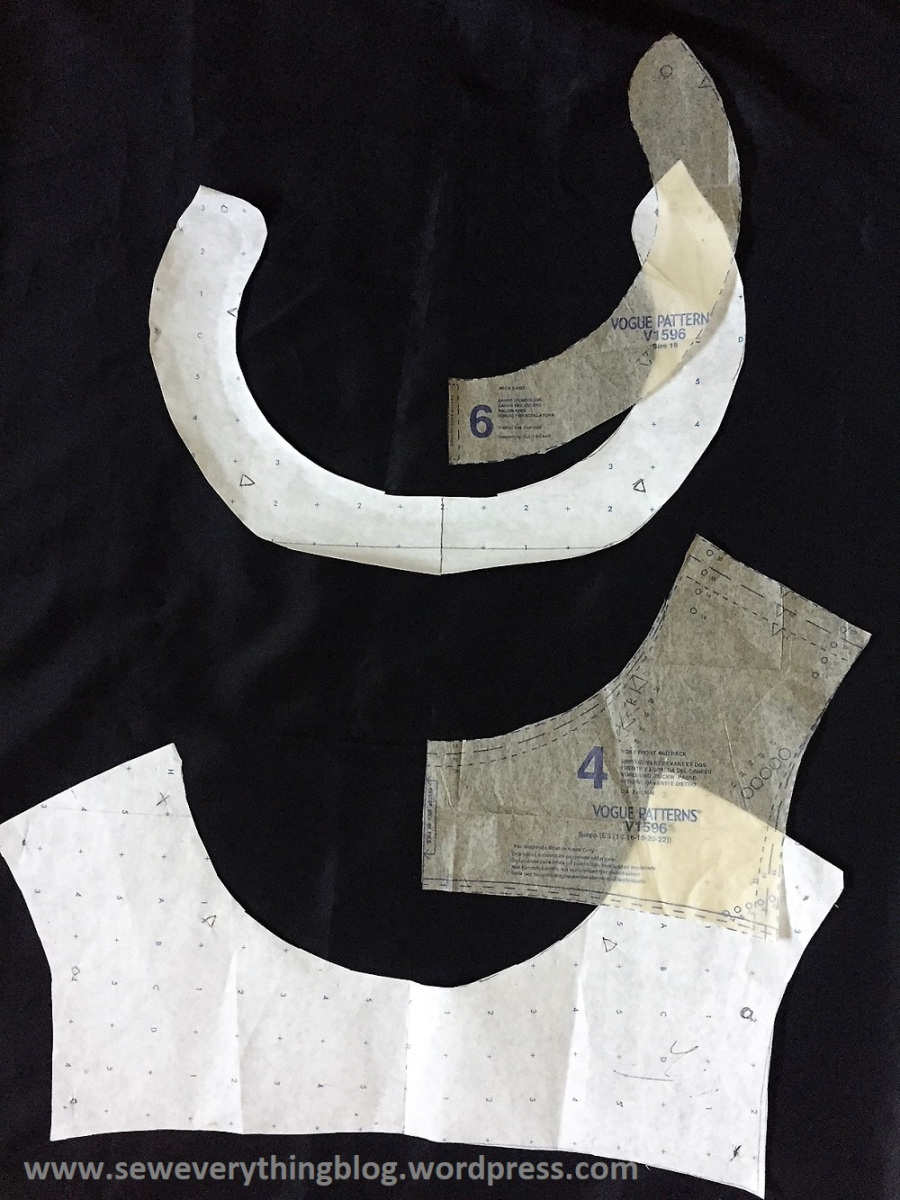
One look at the pattern (Vogue1596) and I felt warm and fuzzy …. know that
feeling?
Pattern Review: I followed the instructions and recommendations almost exactly, with a couple of tweaks. So, here’s a short review:
Assessment: A stable knit is recommended by the pattern company, and I used a soft 11 oz rayon jersey in Torch Red from Sew Much Fabric. It's a bit less stable than say, interlock or ponte knit. I’ve sewn with this jersey before and knew how to work with it. I was setting myself up for a bit of difficulty, though.
The design elements in this pattern are what is usually found in a design for woven fabric, not in a knit. Because, there are multiple details: tucks on front and back, a one-piece yoke (no shoulder seam but two layers, like a shirt), an interfaced neckband, sleeve plackets and interfaced cuffs with loops for the buttons. Plus, a curved hem. And pockets!!


Points to Ponder over this Pattern (eye-roll here over the alliteration; I can’t help it):
Take extra time and patience with this pattern. It’s worth it in the end.
Paper between the fabric and your cutting surface is a must for fabrics with questionable stability. Using newspaper is fine unless your fabric is white, beige or pastel (to alleviate any chance of the printing ink coming off on the fabric).
Serger not required: The entire top was sewn and seams finished on a sewing machine. I double stitched the seams and pinked the edges to finish. The pattern guide recommends it and rightly so since I found a serged seam would mean too much thread in this fabric. A serger is best used with minimal design and construction detail – in my humble opinion.

Tucks: Right away, I knew that making accurate tucks in the rayon knit would be a problem due to the nature of the soft jersey under the needle. To keep the tucks accurately straight, I needed to stabilize that portion of the front piece. There was a choice of thin fusible interfacing or woven organza; I chose red silk organza from my stash and basted it to the back of the tucks section, BEFORE sewing the tucks. The fine organza stabilized the knit without changing the “hand” too much. Then, I marked the tuck lines using a tracing wheel and carbon on the wrong side AND then thread-traced the fold lines so they could be seen on the front. After this, it was easy peasy to sew evenly placed tucks.

Create Templates: except for the main front and back piece, anything else cut on a fold needs a full template. The yoke pieces (yoke and yoke-facing) are supposed to be cut on the fold if you use the pattern tissue; but I recommend that you make a full template with heavier paper. The other pattern piece needing a full template is the neckband.
Tweaks: they are minor. 1) the neckline is just wide enough to go over my head without the little neck chain having to be opened from one end. So I did not attach a hook in one side of the neckband but tacked the chain on both sides. 2) I reduced the curve of the hem because a straighter hem is much easier to sew — by now I wanted the darn thing finished!!
Into the spring 2019 closet it goes! This tunic is the first item done for my Spring 2019 “collection”. Onward, seamstress, to the next item in the queue.